How to Remove Oxidation from Car Paint [PHOTO GUIDE]
-
 February 10, 2020
How to remove oxidation from car paint is one of the most frequently asked questions we get from readers, especially those who prefer DIY auto detailing.
If you have the same question in mind, read on. This blog post is specifically created for you. We’ve included some photos on how your car’s paint should look like during the process.
How to Remove Oxidation from Car Paint
1. Park your car in a shady area
Removing oxidation might not involve rocket knowledge, but it is definitely a long and tedious process. So, to save your skin from sunburn, or from products drying up faster than they should due to exposure to sunlight, we suggest parking your car under a shade. If you have a garage that’s big enough to work in, that would be better.
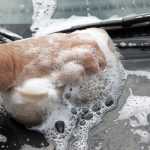
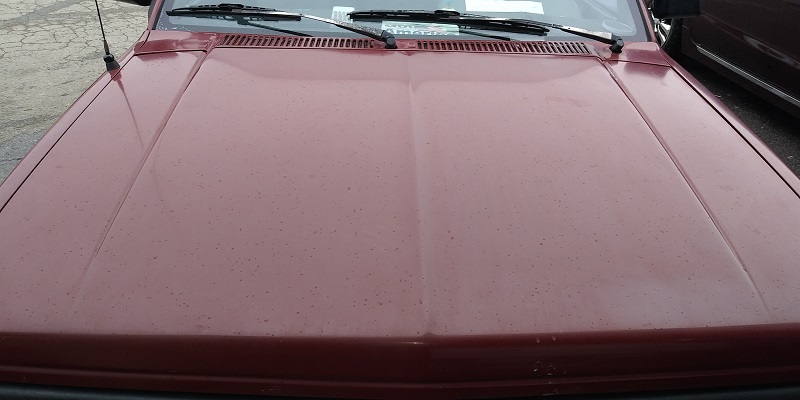
2. Wash and dry your car
Thoroughly washing and drying your car removes surface dirt, mud, and other contaminants, making it easier for you to spot the areas affected with oxidation. This is the pre-treatment stage. Also, this ensures that no dirt or sand will get trapped into the buffer heads which might create tiny scratches on the paint.
Can you just take your prized possession to your local car wash? Yes, you can. Be aware, however, that the giant rags and scratches might cause paint swirls and scratches. This is why we recommend hand car wash. It might take more time and effort, but you’ll have a surface that’s safe to work on.
3. Isolate the area
Inspect every section of your car. Where does oxidation occur? Enclose the affected areas with detailing tape. Of course, you can use masking tape or artist’s tape, but then, these might leave adhesive residues on your paint. So it would be best to use detailing tape. This will prevent contaminants generated by the buffer from scattering in other areas of your car paint.
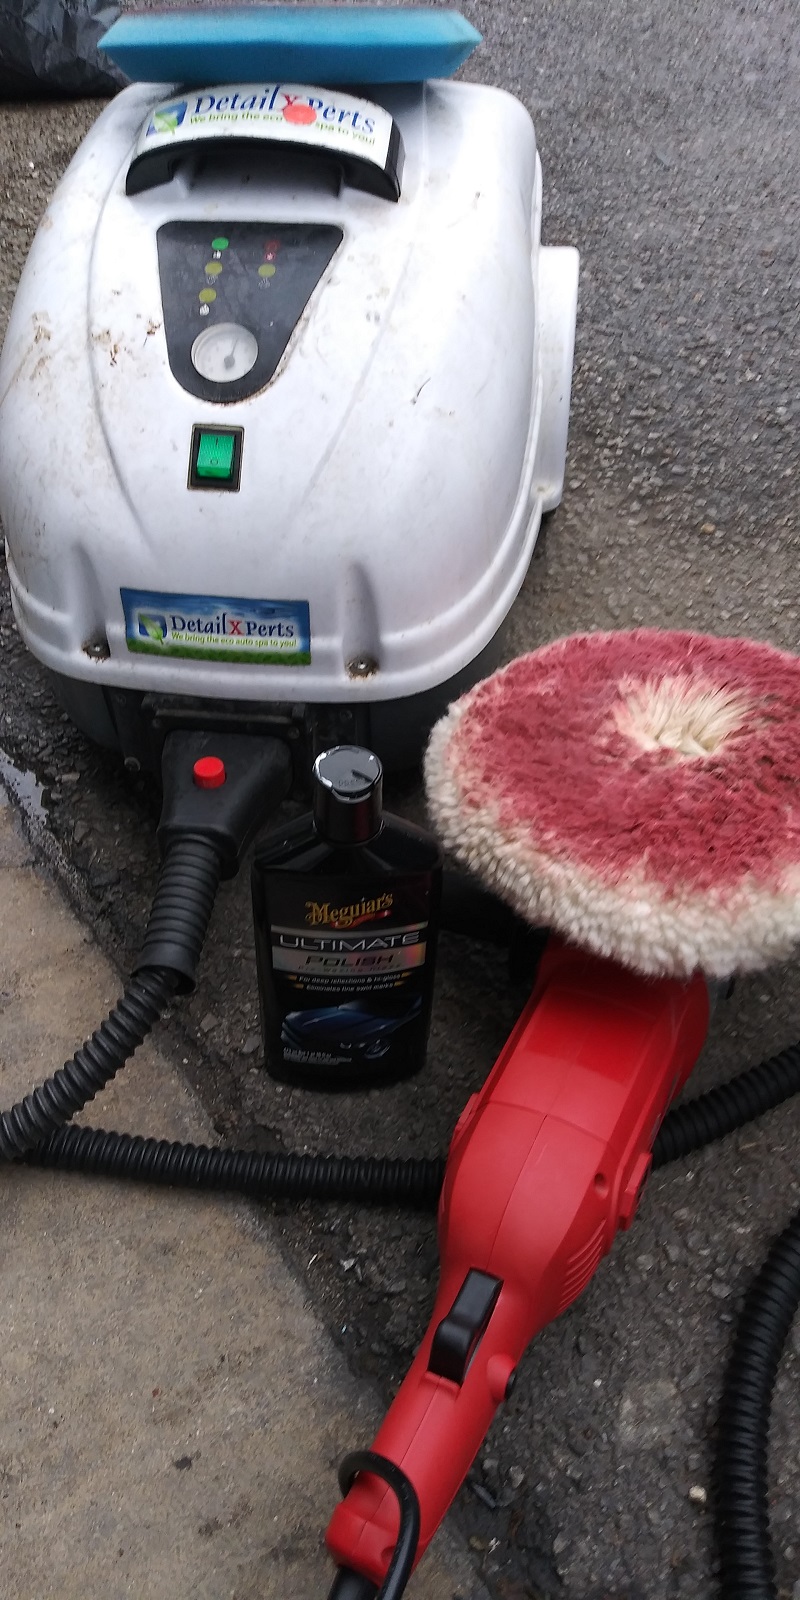
4. Gather the materials
Now that you know which areas you’ll be working on, gather the following tools and materials:
- Towels. Buffing a car is a messy job. In most detail shops, technicians change or clean buffer heads often. Now, if you don’t have that many buffer heads, you can use towels, clean, wet towels to remove dust generated by the buffer.
- Compound. Think of a compound as a liquid sandpaper. Compounding a car is necessary to remove scratches and other paint imperfections like oxidation. Make sure to use the least aggressive compound on a small part of the affected area. If it works, fine. If it doesn’t, then use a more aggressive compound. Why? Using the most aggressive compound right away might lead to irreversible damage because it can cut through paint.
- Car polish. Whatever marks or imperfections left behind by compounding, polish removes. It restores the paint’s shine and protects it too. Here’s a good guide on what car wax to use.
- Buffer machine. There are generally two types of buffer machines – rotary and dual-action. If you’re a beginner, use the dual-action buffer. If you’re more experienced, use the rotary type as it will help you do the job faster. Of course, you can manually remove oxidation, but this will take a lot of time and elbow grease.
- Foam applicators. Foam applicators help you apply the wax evenly and effectively, without leaving ugly marks on your vehicle. It also allows you to save a lot of product.
- Wool pad. A wool pad is specifically designed to remove car paint damage types like oxidation, scratches, and similar paint imperfections. It cuts through paint, so we recommend caution when using it. There are three major types of wool pads for car detailing: light, medium and heavy.
- Polishing pad. A polishing pad helps speed up the polishing process.
NOTE: If you’re seeing extreme oxidation (as in very chalky spots), you will need to wet sand the area.

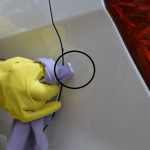
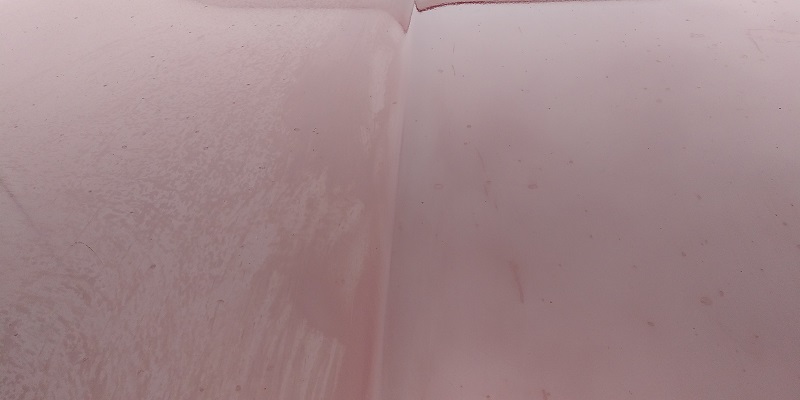
5. Remove the oxidation
Get your buffer. Attach the wool pad. Moisten it with water then put some compound on the pad. Why moisten the pad? It’s because the moisture will make the buffer head glide on the paint, thus preventing scratches.
Set your buffer to the desired speed. Ideally, a good speed would be 1 to 3. Of course, this would depend on the severity of the oxidation and your speed and ability with handling a buffer.
When buffing, work on a small area at a time to prevent the compound from drying up. Wipe off the buffed area with a wet towel.
Below is how your car’s paint would look like after the oxidation has been removed. Notice the fading on your car’s paint? Don’t worry. It’s normal and to be expected. The next step will remove the fading.
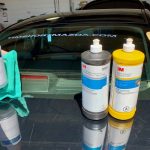
6. Waxing
As mentioned above, this step removes the fading that comes after removing car paint oxidation. There are different types and brands of waxes. There are cheaper varieties that do the job but the results only last for one to three months. The best long lasting car wax might be more expensive, but it can make your car shine from six months to a year.
How to wax a car? Gather the equipment and materials that you need; put some wax on the foam pad; allow the wax to dry thoroughly; then buff it, either with a mechanical buffer or manually.
How often should car wax buffer heads be replaced? This will depend on the number of pads you have, how often you use them, and frequency of cleaning.
How to remove oxidation from car paint? The steps are outlined above. The whole process may be time and effort consuming, but the results you will get will give you pride and satisfaction. After all, who doesn’t want to drive a car that gleams and shines?
Don’t have time to remove oxidation from your car paint or you simply want to leave it to the professionals? Then, schedule an appointment with DetailXPerts. Our technicians can do the job effectively.
Want to learn more car care tips? Check out DetailXPerts on Pinterest. We have a multitude of tips and tricks to help you take better care of your vehicle.
Recent Posts
-
 Demystifying Performance Capabilities for Cleaning Companies December 8, 2022
 -
 6 Reasons Why Building Managers Love Our Eco-Friendly Janitorial Service November 23, 2022
 -
 The Mobile Car Detailing Service for Busy People August 11, 2022
 -
 Dirty Trucks are Costing you Money August 3, 2022